Saturday, October 30, 2010

Pièce de résistance - part 1

Hands down the most exciting cake I've done so far was for my friend L's bridal shower.  L is the now-wife of my husband's friend A, and sister-in-law of my friend J.  (I'm noticing now it seems like we only hang out with these few people, but I swear we have a lot more friends than this.)

In late July I was contacted by A's mom and L's mom, asking me if I would make the cake for L's bridal shower at the end of August.  I couldn't believe that someone would ask me to decorate a cake for such a big occasion.  I happily accepted and started to plan out what I would make.  As I browsed the internet I came across gorgeous gum paste flowers from a website called Shop Bakers Nook in red, yellow, and white that looked just like the flowers from L's bridal shower invitation, so I decided that I would make a marble cake decorated to mimic the invitation.  In addition I would make Funfetti cupcakes so that L would have both at her shower (her favorites!).  Because this was such a big job, I'm splitting this into two posts to cover cupcakes and then the cake.

I took off from work the day before the shower so I'd have time to bake.  The weekend before the shower, Hubby and I were in Philadelphia for a wedding.  The week of the shower I was in NYC a few days for work.  I made a few batches of cupcakes the night I got home from NYC, and then the day I took off from work I baked from 9:00 a.m. through 1:30 a.m.  It was epic!  It wasn't easy by any means, and I'm very lucky that I have such a helpful and supportive husband who is willing to sprinkle colored sugar and sugar pearls onto about 6 dozen cupcakes as I iced.  We got everything done and I was so happy with what we brought.

Here is a look at a portion of my cupcake count.  I made about 2 dozen regular-sized and 4 dozen minis.  I had great paper liners I was excited to use, but I have to admit these pups were everywhere - kitchen table, counter, coffee table, etc. 


Below is my finished cupcake product.  When frosting I used a basic Wilton 1M tip.  This is by far the easiest way to knock out a bunch of cupcakes quickly while still ending up with a pretty final product.  I decided to do vanilla and chocolate icing to stick with the bride and groom theme; the chocolate icing had pink sprinkles and the white icing had purple sprinkles.


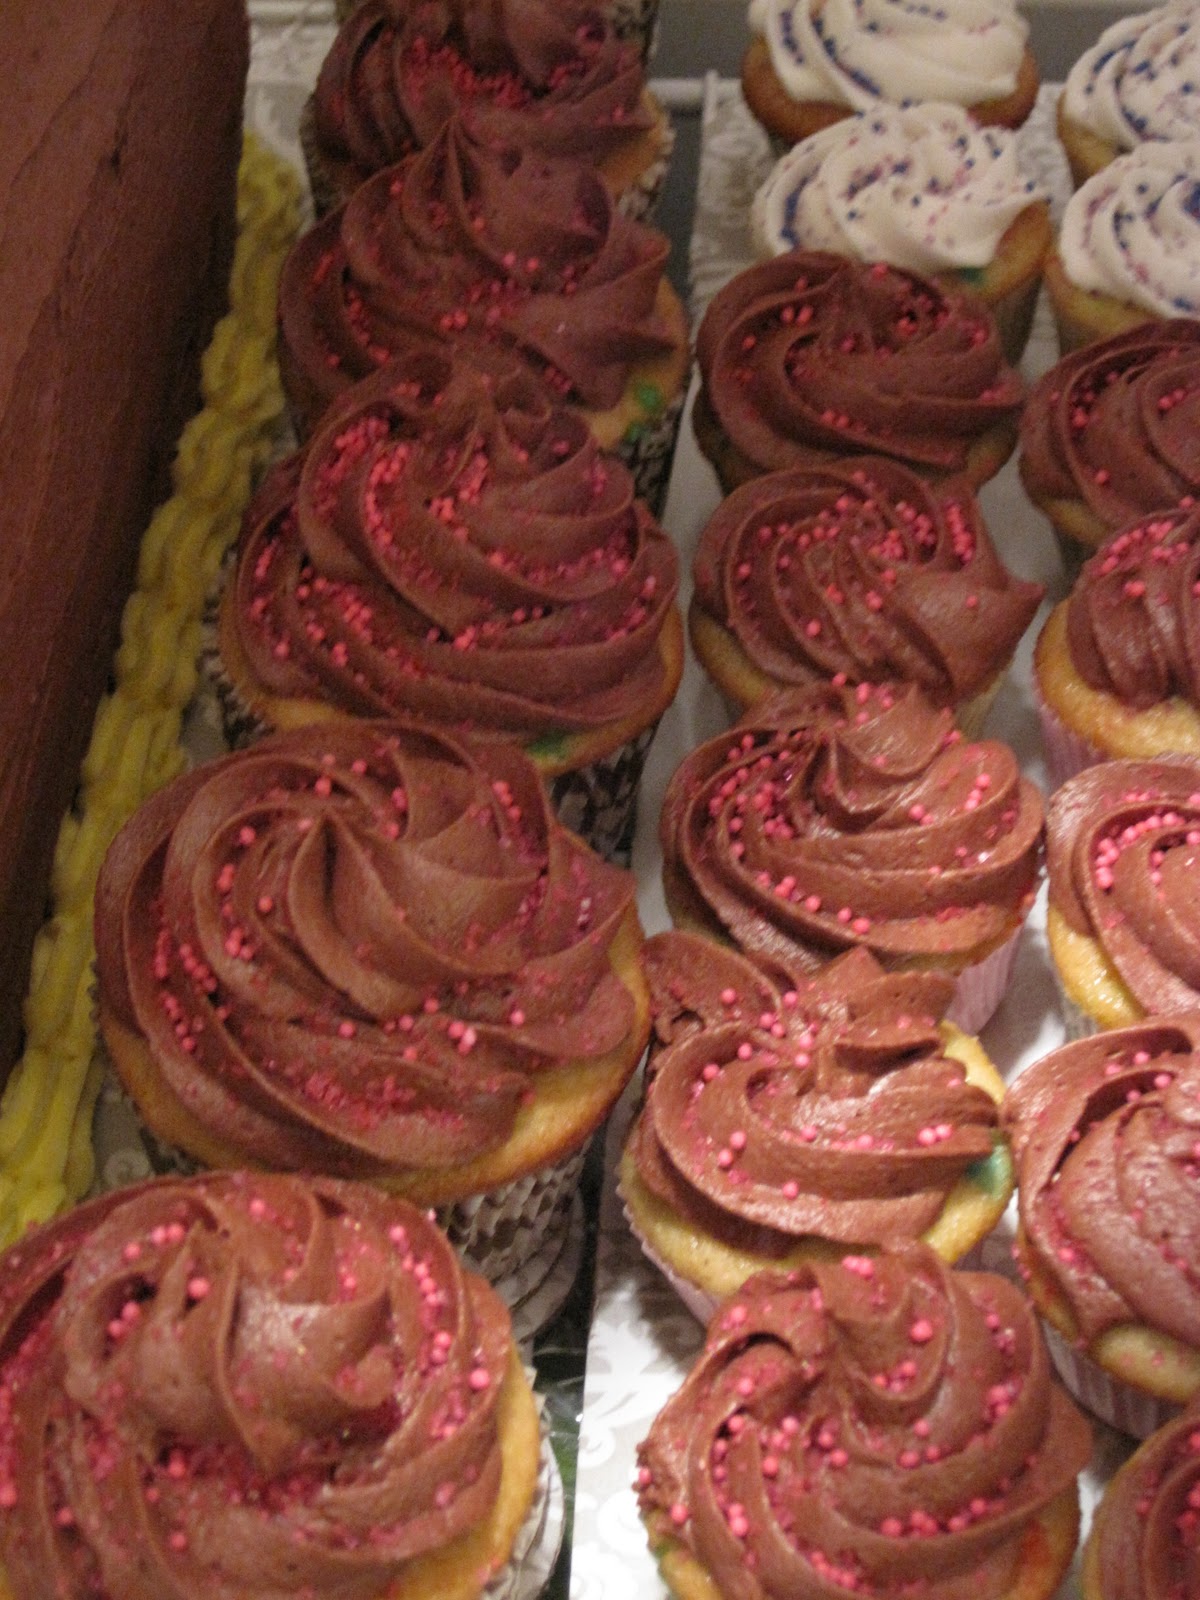
The cupcake stand is from the Martha Stewart line, found at Macy's for $20.  I was really happy with this cupcake tree because it's versatile - white, pretty, simple, and doesn't take up too much room. 


Tune in to the next post to see the cake!

Thursday, October 21, 2010

Father's Day in Deep Creek - June 2010

Every year my husband and I go to Deep Creek Lake in Maryland for a week with his family.  Even though it's only immediate family, it seems like we're increasing in number by the year.  There are six kids to start with, and 4 of the 6 have significant others that come along.  Then two of those four have one kid each.  This brings us to a total of 14 people in one house on the lake for a week.  Contrary to how it might sound, it's actually pretty fun.  And each of those two couples is currently pregnant with their second baby, so we'll be up to 16 people next year.  We may eventually have to do two separate houses!

Because we're vacationing with a small army, we can really pack it in when it comes to food.  Everyone brings a load of snacks, cereals, drinks, etc. to throw into the communal pot for the week and each night a different couple takes care of dinner for the whole group.  It's a big task when it's your night, but it's nice to know that you only have to do it once and that you're not going to spend a fortune on eating at restaurants for a week. 

When I was planning for our dinner this year I realized that our second night in Deep Creek was Father's Day, so I jumped at the chance to make that our dinner night.  It was a two-fold benefit - one, we got our night out of the way early and two, I got to decide on a really cool cake to bring for the three fathers in the group.  I spent about a week searching for different designs that were impressive yet realistic for a newbie, and eventually I had a light bulb - make a Steelers cake!  We're all huge fans and it would be fun to practice using piping gel to outline a pattern.  I used the standard white buttercream again, with devil's food cake.  I was really careful coloring the black parts of the icing, and while it wasn't pitch black like I wanted, it was definitely more important to make it edible.  Everyone really liked this cake and it was a great way to end our Father's Day at the lake. 


Tuesday, October 19, 2010

Memorial Day 2010

My first post-class cake was done for Memorial Day 2010.  We were headed to a barbecue in my husband's hometown, hosted at one of his friend's parents' house (this friend, A, also happens to be my friend J's brother).  Since I had just finished the Wilton class I decided to whip something up to take with us.  I used the standard Wilton white buttercream on a red velvet cake (so it was super patriotic once we cut it).  I was a little nuts about the stars not having lined up the way I wanted them to, but that's one of my OCD tendencies I had to ignore.

One of the things I was happy about is that my icing technique keeps getting better.  As I continue to practice, the icing gets smoother and more even, and while my shell border isn't as traditionally tight as I'd like, it's consistent.  It's not always important to do it exactly as you're taught, but as long as you keep it the same within your baked good it's usually no big deal.

For the stars on the top I made light impressions with a cookie cutter and then outlined them in blue icing with a round tip (I can't remember which one).  Then I filled in each star using red icing that I mixed with the no-taste coloring paste from the Wilton line.  When coloring icing it's important to remember that the brighter, more vibrant you want your colors the more paste you have to use, which can result in bitter-tasting frosting.  Luckily Wilton makes a few colors as no-taste.  Then I filled in a few areas of white space with three drop flowers.  The BBQ crowd seemed pleased with it and luckily we didn't have any to bring home.


Saturday, October 16, 2010

I'm off to a great start...

Probably one of the smartest things I've ever done is try to start a blog right before moving into a new house.  I'm a virtual Einstein when it comes to things like that.  How did I not realize that my weeks would become all about packing boxes and moving boxes and unpacking boxes and organizing stuff?  Anyhow, I haven't been able to do much new baking or any other culinary experimentation, but I do have my eye on some things that I hope to try soon.  Now that the functional pieces of my kitchen are (mostly) in-tact and I have my fancy gas stove/oven, I need to jump back in.

Until I do that, I thought it might be a good idea to regale you with some of my cake decorating.  Back in May I took my first cake decorating class with my friend J.  J and I signed up for Course 1 of the famous Wilton classes at our local Michael's store.  Now J is a culinary school grad and her mom has decorated cakes professionally for years now, but my experience was quite limited.  In Course 1 we learned the basics about making icing, filling bags, using the different decorating tips, and the beginner's techniques for decorating (borders, writing, etc.).  Below is a recap of the three cakes I made during this 4-week class, and in the next few posts I'll show you the cakes I made after that (and you'll see I've gotten a lot better).  J and I have been trying to take Course 2 for a few months now, but the instructor never has enough people signed up to actually teach it.  Hopefully it happens soon though.


Week 2 of class - my very first cake! 
My icing technique has gotten MUCH better.


Week 3 - already an improvement! 
I think this might have been my favorite.


Week 4 - the Wilton rose!
I definitely needed help but I think it came out well.